A Practical Guide to AR App Development
Jul 13, 2025

Peter Davis
HR Specialist

Building a successful AR app isn't about flashy effects; it's about practical execution. The most critical work happens before you write a single line of code. This strategic groundwork separates a genuinely useful tool from a forgotten novelty. This guide provides actionable steps to get you from concept to launch.
Laying the Groundwork for a Successful AR App
Before touching the technical side of augmented reality, the heavy lifting is done in your planning phase. A solid strategic plan is your best defense against scope creep, keeping the project focused and ensuring the final product solves a real-world problem. This is where you nail down the "why" behind your app.
Define a Clear Use Case
Every successful AR app starts by tackling a specific problem or enhancing a particular experience. Vague ideas fail. You have to get specific. Are you helping shoppers see how a new armchair looks in their living room, or are you building a training tool for technicians working on complex engines?
Consider how a sharp focus provides an actionable path in these areas:
Retail: Instead of a generic "try-on" app, focus on a niche like virtual sneaker fittings for collectors or an app that lets a user visualize custom jewelry on their own hand. A home improvement store could create an app that shows how different paint colors look on your actual walls, adapting to the real lighting in your room.
Education: A simple 3D model viewer is not enough. Go deeper. Build an app that lets medical students peel back the layers of a virtual human heart or one that transports history buffs to ancient ruins, letting them see the structures as they once stood.
Gaming: An AR game needs more than just placing characters in the real world. A practical concept might be a location-based scavenger hunt that weaves local landmarks into the gameplay, or a tabletop strategy game that springs to life on your coffee table.
The objective is to move from a broad idea like "an AR app for retail" to a clear concept like "an AR app that lets users try on luxury watches with their phone's camera, showing realistic light reflections and strap materials." That’s a concept you can build.
Map the User Journey
Once your use case is locked in, map out the user's entire journey, from opening the app to accomplishing their goal. Thinking through this process step-by-step helps you spot potential roadblocks and find opportunities to create an efficient experience.
For an AR furniture app, a practical user journey looks like this:
Launch: The user opens the app and sees a quick, skippable onboarding tutorial.
Scan: The app prompts them to scan their floor to detect a surface.
Browse: They scroll through a clean, intuitive catalog of furniture.
Place: They pick a sofa and tap to place it in their room.
Interact: The user can walk around the virtual sofa, instantly swap colors, and check its dimensions.
Action: A clear "Save This Look" or "Buy Now" button provides an obvious next step.
By planning each step, you can anticipate where users might get stuck. For example, what if the room is too dark for the camera to scan a surface? A well-designed journey accounts for this with a helpful prompt like, "Room is too dark. Please add more light to scan."
Assess Technical Boundaries
Finally, perform a technical reality check. Your choice of platform—primarily Apple's ARKit for iOS or Google's ARCore for Android—will define what is possible.
For example, high-end features like LiDAR scanning, which creates an accurate depth map of a space, are only available on certain premium devices like the iPhone Pro models. If your app concept relies on that feature, you are consciously excluding a large part of the market. Conversely, if your app only needs basic surface detection, it can run on a much wider range of older, less powerful phones.
This assessment is critical for AR app development. It forces you to find the sweet spot between your creative vision and the practical hardware your target audience actually owns. That's how you deliver a great experience that people can actually use.
Choosing Your AR Development Toolkit
Picking the right tools for your AR app development project is a critical decision. Your tech stack defines your app's capabilities, performance, and development timeline. The goal isn't to find the "best" toolkit, but the one that directly matches your project's requirements.
The process starts with the core software development kits (SDKs) that enable mobile AR: Apple's ARKit and Google's ARCore. Think of these as the foundation that allows your app to understand and interact with the real world using a device's camera and sensors.
Deciding how to leverage these technologies is what allows developers to build immersive experiences.
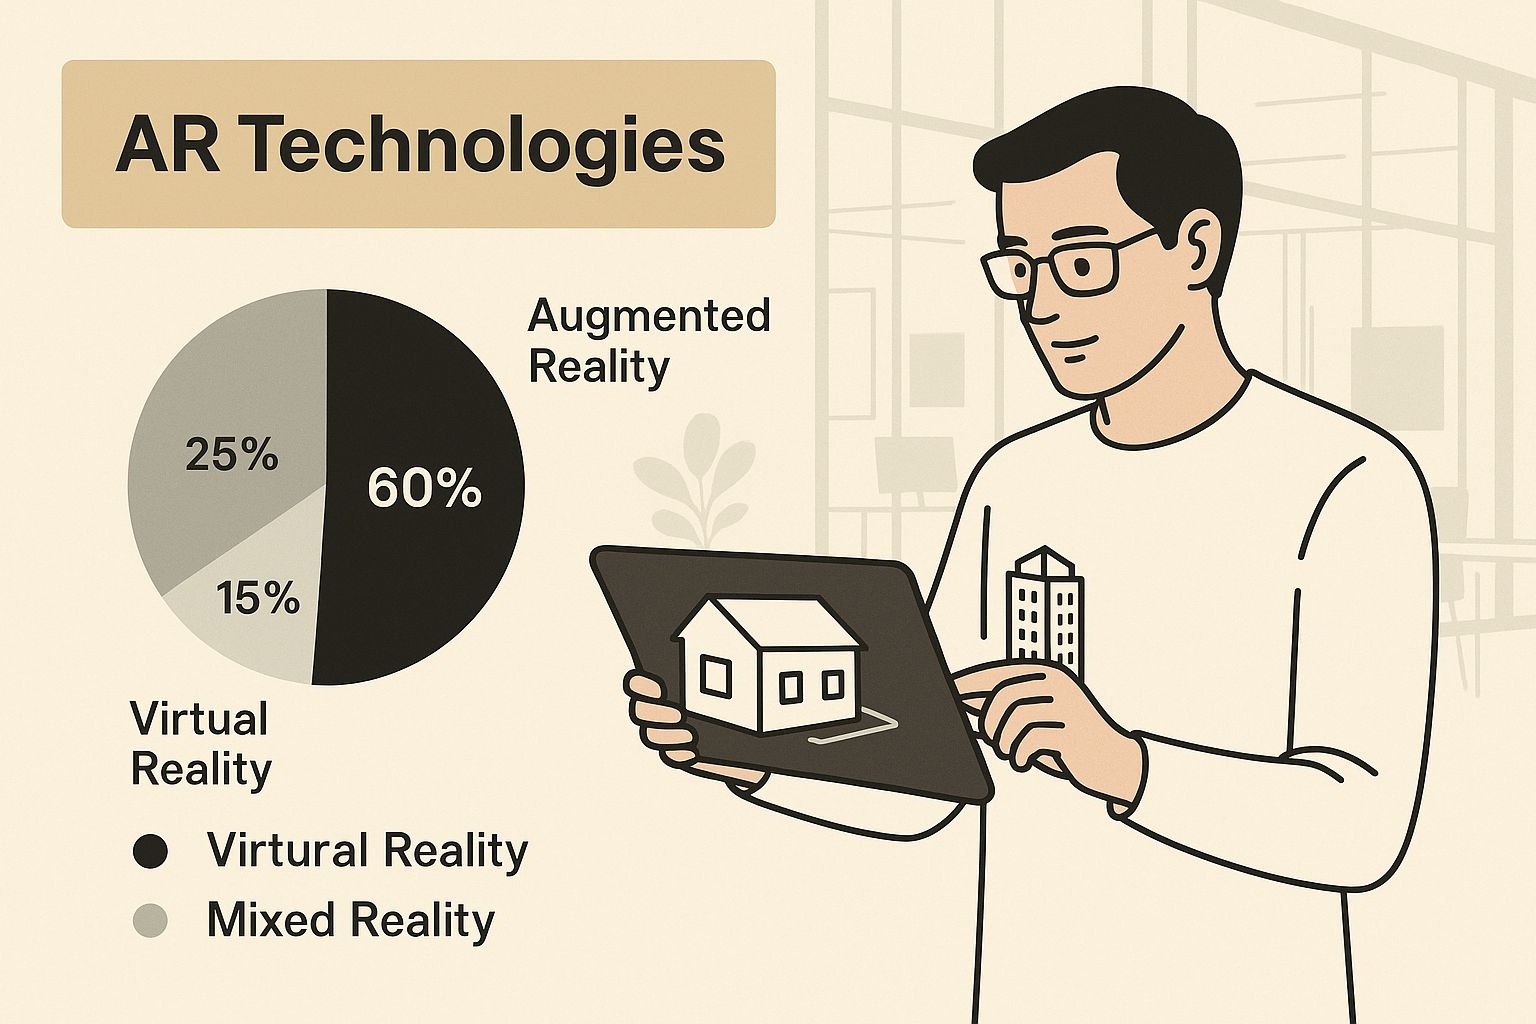
This image is the direct result of a developer making a practical choice about which SDK and engine to use for a specific goal—in this case, manipulating 3D models in a real-world space.
Going Native with ARKit and ARCore
"Going native" means building your app specifically for one mobile ecosystem. You would use ARKit with Swift or Objective-C for iOS, and ARCore with Kotlin or Java for Android. The key advantage is immediate, direct access to the latest features the moment Apple or Google releases them.
For instance, if your app absolutely requires the high-fidelity depth mapping from a LiDAR scanner, a native ARKit build is your only practical option, since that hardware is exclusive to certain iPhone and iPad Pro models.
A native strategy is the right move when:
Your app requires the best possible performance and responsiveness.
You must use a brand-new, platform-specific feature immediately.
Your target audience is entirely on one platform (iOS or Android).
The downside is that this path requires maintaining two separate codebases to support both platforms, effectively doubling development time and budget.
The Cross-Platform Power of Unity and Unreal
Game engines like Unity and Unreal Engine offer a cross-platform solution. They were built for video games, but their powerful 3D rendering capabilities are a great fit for AR. They function by adding a layer on top of ARKit and ARCore, letting you write your code once and deploy it to both iOS and Android devices.
Unity, with its C# scripting, is the go-to for many developers due to its manageable learning curve and large support community. It powers countless commercial AR apps, from marketing campaigns to enterprise training tools.
Unreal Engine, using C++, is known for its superior visual quality. If your project demands photorealistic 3D models and lighting—for high-end architectural visualization or a car configurator—Unreal is the tool for the job.
The key takeaway: The trade-off with cross-platform engines is a slight delay in accessing the newest native AR features. Unity or Epic Games (Unreal's creator) needs time to integrate the latest updates from Apple and Google. For most projects, this small lag is an acceptable price for the massive efficiency gain.
Making the Final Call
Which path is right for you? The decision comes down to your project's complexity, performance needs, budget, and your team's existing skills.
To help you decide, here is a practical comparison of the top platforms.
AR SDK and Engine Comparison for App Development
This table breaks down the key players to help you choose the best fit for your specific needs.
Platform | Primary Ecosystem | Best For | Key Features | Learning Curve |
|---|---|---|---|---|
ARKit | iOS (Apple) | Native iOS apps needing the latest Apple features (like LiDAR) and top performance. | LiDAR Scanner support, advanced motion tracking, People Occlusion. | Moderate (Swift/Objective-C) |
ARCore | Android (Google) | Native Android apps and experiences that need broad device compatibility. | Cloud Anchors, Environmental HDR, Depth API for occlusion. | Moderate (Kotlin/Java) |
Unity | Cross-Platform | Most commercial AR apps, interactive experiences, and games. Great for rapid development. | C# scripting, huge asset store, massive community support, deploys to both iOS & Android. | Beginner-Friendly to Intermediate |
Unreal Engine | Cross-Platform | High-end visualizations, photorealistic AR, and graphically intense projects. | C++ scripting, Blueprints (visual scripting), unparalleled rendering quality. | Intermediate to Advanced |
Choosing the right toolkit means being realistic about your goals and resources. If your team knows C# and you need to target both iPhone and Android, Unity is the logical choice. If you’re building a simple utility for iPhones that needs the latest ARKit feature today, then a native build is the way to go.
To dig deeper into this crucial decision, you can learn more about the leading AR development platforms in our detailed guide. Making the right choice here provides a solid foundation for your entire AR app development process.
Configuring Your AR Development Environment
With your plan in place, it's time to set up your workspace. Getting your environment configured correctly from the start will save you hours of troubleshooting later. A clean, correctly installed setup is the foundation for everything you build.
This isn't just about downloading a program. It's about installing the right integrated development environment (IDE), the specific SDKs, and any required plugins. Projects often get stuck for days because of an incompatible tool version or a missed configuration step.
Let's walk through the setup for the most common development paths.
Setting Up for Native iOS and ARKit
If you're building an app exclusively for iPhones and iPads, your work will revolve around Apple’s ecosystem. The only tool you need to get started is Xcode, Apple's official IDE.
Get the latest version of Xcode from the Mac App Store. Once installed, creating a new AR project is straightforward:
Launch Xcode and choose "Create a new Xcode project."
Go to the iOS tab and select the "Augmented Reality App" template.
Name your project, select your team, and choose between "Storyboard" or "SwiftUI" for the interface. You'll also pick either "RealityKit" or "SceneKit" for your 3D content.
Xcode bundles ARKit automatically, so there is no separate SDK to install. The screenshot below shows where to find the AR template.

By selecting that template, Xcode creates a pre-configured starter app. It includes a sample 3D object ready to be placed in the real world right out of the box.
Prepping for Native Android and ARCore
For native Android development, your home base is Android Studio. First, ensure your physical test device is ARCore-compatible and has Google Play Services for AR installed.
Download and install Android Studio. Then, configure your project to use ARCore by adding the correct dependencies to your build.gradle file. This tells your project to pull in the ARCore library. You must also update your app's AndroidManifest.xml to declare that your app requires ARCore and needs camera permissions.
A critical step is to enable USB debugging on your test device. Without this, Android Studio cannot push the app to your phone for testing, which is essential for seeing your AR experience in action.
Getting your environment right is crucial. The global mobile AR market is projected to grow from USD 49.59 billion in 2025 to USD 529.93 billion by 2034. This growth is driven almost entirely by mobile AR adoption.
Configuring Unity or Unreal Engine
When using a cross-platform engine like Unity or Unreal Engine, the process is different. Install the engine first, then add the specific AR packages.
For Unity: Install Unity Hub to manage different Unity versions. Create a new project, then open the Package Manager (
Window > Package Manager). Install the AR Foundation package, followed by the platform-specific plugins: ARKit XR Plugin for iOS and ARCore XR Plugin for Android.For Unreal Engine: After installing the engine via the Epic Games Launcher, find AR functionality under the plugins menu. Go to
Edit > Pluginsand search for "AR." Enable the ARKit and ARCore plugins depending on your target platforms.
This approach lets you build your core app once and deploy it to both iOS and Android. As you get set up, you may find it helpful to explore our deeper insights into AR mobile app development.
Building Core AR Features and Interactions
With your development environment ready, it's time to build the core experiences that define your app. This section covers the practical logic for bringing your 3D assets to life in the user's world.
The magic of AR is not just showing a 3D model on the screen. It's about making that model feel like it belongs there—on the user's table, floor, or attached to a real-world object.
Anchoring Content with Plane Detection
For most AR apps, the fundamental interaction is placing a virtual object on a real-world surface. This is powered by plane detection, a core feature of both ARKit and ARCore that finds horizontal and vertical surfaces like floors, tables, and walls.
Here's how it works: the AR session analyzes the camera feed for distinct visual feature points. As the user moves their phone, the SDK uses this data to map the space and identify flat planes. Your job as a developer is to use these detected planes as a foundation for your virtual content.
This involves two critical steps:
Visualizing the Planes: A practical best practice is to show users what the app sees. Overlaying a semi-transparent grid on detected planes provides instant feedback, confirming the system is working and guiding them on where they can place objects.
Handling User Input: When a user taps the screen, fire a raycast from their tap point into the 3D scene. If that ray intersects a detected plane, you get back the exact real-world coordinates. This is the spot where you will spawn your virtual object.
By creating an "anchor" at these coordinates, you tether your 3D model to that physical location. The AR SDK then continuously tracks that anchor to ensure your virtual object stays locked in place as the user moves around it.
Triggering Experiences with Image Tracking
Not every AR experience involves an empty room. Sometimes, you want the experience to trigger when the camera recognizes a specific image—like a movie poster, product label, or magazine page. This technique is called image tracking.
This is a powerful tool for marketing and educational apps. For example, a user could point their phone at a wine bottle to see a video of the winemaker, or scan a textbook diagram to bring a 3D model of a machine to life.
To implement this, you must first provide the AR SDK with a reference image library. These images need high contrast and rich detail for the computer vision algorithms to recognize them. Avoid images with large blank areas or repetitive patterns.
Once an image from your library is detected, the SDK provides its precise position and orientation. You can then attach your 3D content to that image anchor, making it appear as if it's emerging from the physical marker.
Optimizing 3D Assets for Smooth Performance
One of the biggest hurdles in AR app development is performance. Using unoptimized, high-polygon 3D models will create a laggy, battery-draining experience. A user won't care how beautiful your model is if the app stutters.
Here are actionable optimization tips:
Reduce Polygon Count: Aim for the lowest polygon count that still looks good. For mobile AR, a few thousand polygons is often sufficient. Use tools like Blender or Maya to simplify geometry.
Use Smart Textures: Keep texture resolutions as small as possible without a noticeable drop in quality. Use texture atlases—combining several smaller textures into one sheet—to reduce draw calls and boost performance.
Implement LODs (Levels of Detail): Create multiple versions of a 3D model at different detail levels. The app shows the high-detail version when the user is close and automatically swaps to lower-detail versions as they move away.
Mastering these core features is a crucial step. To see how these tasks fit into the larger project, read our guide on how to build a successful augmented reality workflow. It provides a strategic overview that connects concept to launch.
Testing and Launching Your AR Application
Here's a hard truth: an AR app that works perfectly in your office can fail completely in the real world. Success in AR app development depends on rigorous testing that accounts for the messy, unpredictable nature of a user's actual surroundings.
You're not just checking UI buttons; you're validating how digital content behaves in physical reality. This requires a shift in your QA mindset. Get your app onto physical devices early and often. Your mission is to fix bugs caused by real-world variables before users find them.
Navigating Real-World Testing Conditions
The biggest challenge in AR testing is the number of variables. Create a practical checklist to test your app in every scenario imaginable, focusing on conditions where AR tracking is likely to fail.
A solid real-world testing checklist should cover:
Lighting Extremes: Test in bright rooms, dim corners, and spaces with shifting light. Poor lighting is the number one cause of AR tracking failure.
Surface Textures: Test on reflective surfaces like glossy tables, featureless white walls, and busy patterns like detailed carpets or wood grain.
Dynamic Environments: Test in spaces with people walking through or other unexpected movement.
Cluttered Spaces: Place virtual objects in rooms packed with furniture to test occlusion and stability.
Device Motion: Test while walking, turning quickly, and at different speeds to ensure tracking remains steady.
The goal is to intentionally try to break the experience. If your app remains stable under these stressful conditions, it will perform well for the average user.
This level of testing is non-negotiable. The global AR market grew from USD 3.48 billion in 2017 to a projected USD 198.17 billion by 2025. This growth means user expectations are rising just as fast.
Gathering Actionable User Feedback
Once technical bugs are resolved, begin User Acceptance Testing (UAT). Give your app to people outside the development team for honest feedback on its usability and immersiveness.
Technical perfection is useless if the experience is confusing. Focus your UAT on gathering feedback about these key areas:
Onboarding Clarity: Do new users immediately understand how to scan their environment and place an object?
Interaction Intuitiveness: Is it obvious how to move, rotate, and scale objects? Are gestures natural?
Immersion Quality: Does the AR content feel like a believable part of the user's world?
This feedback is invaluable. It will highlight friction points you can no longer see. Use what you learn to refine the user flow and polish the experience. This iterative loop of testing and refining separates good apps from great ones.
Building a team for this work means finding people with specific skills. It’s worth looking at the different augmented reality careers to understand the specialized roles involved.
Preparing for the App Store Launch
Getting your app ready for the Apple App Store and Google Play Store is the final step. Your app store listing is your only chance to make a strong first impression. For AR apps, visuals are everything.
Go beyond standard screenshots. Create marketing assets that show the AR experience in action. This means recording short videos of the app being used in realistic settings and taking high-quality AR screenshots that blend the virtual and real worlds.
Finally, pay close attention to the submission guidelines for each platform. Apple, in particular, has specific requirements for AR apps. Ensure your app's description clearly explains the AR functionality and that you follow all rules precisely. This ensures a smooth review process and gets your app to users without delay.
Got Questions About AR App Development?
As you begin your AR app development journey, questions are inevitable. The technology moves quickly, and keeping up can be challenging. Here are straightforward answers to the most common questions.
How Much Does It Cost to Build an AR App?
The answer depends entirely on the scope. A simple, marker-based AR app with a few 3D models might cost between $15,000 and $40,000. A complex, enterprise-grade app with custom 3D content, live data feeds, and cross-platform support can easily exceed $250,000.
Key cost drivers include:
Platform Choice: Building native apps for both iOS and Android separately is more expensive than using a cross-platform engine like Unity.
3D Content: Creating high-quality, custom 3D models is a significant investment. Using stock assets can cut costs but makes your app less unique.
Feature Complexity: Features like real-time multiplayer, cloud-based anchors, or AI-powered object recognition add significant development time and cost.
How Long Does AR App Development Take?
Like cost, the timeline depends on the project's scope. A basic proof-of-concept could be completed in 2-3 months.
A full-featured commercial app typically takes 5-9 months from concept to launch. Large, complex enterprise or gaming apps can easily take a year or more.
A critical factor often underestimated is testing. You cannot test an AR app just at your desk. It needs rigorous real-world testing in different lighting conditions and on various devices. This is non-negotiable and can add weeks to your schedule.
Do I Need to Be a 3D Artist to Create an AR App?
Not necessarily, but you must have access to 3D assets. You don't have to master Blender or Maya, but a solid grasp of 3D fundamentals, especially optimization, is very helpful.
Many developers start with pre-made models from the Unity Asset Store or Sketchfab. However, for a professional and unique app, collaborating with or hiring a skilled 3D artist is almost always the best decision.
The user base for AR is exploding. Projections show that by 2025, there will be over 2 billion active mobile AR users, with 75% of the global population using the technology regularly. It is shifting from a niche technology to an everyday tool.
Of course, a great app requires a great team. If you're looking to assemble one, our guide on how to hire AR developers is a great place to start. It breaks down the specific skills you need.
Ready to build the team that will bring your AR vision to life? Arvello Jobs is the leading job directory for AR, VR, and XR professionals, connecting top companies with the specialized talent they need. Find your next great hire at https://arvellojobs.com.